If you have fancied making your preserves and pickles but do not know where to start, look no more. Making jam and sterilizing jam jars is not simpler with your quick, easy-to-follow guide. Whether you are trying to use plenty of homegrown fruit and vegetables or want to give it a go, it is a fabulous guide to get you started.
What do you have to make jam?
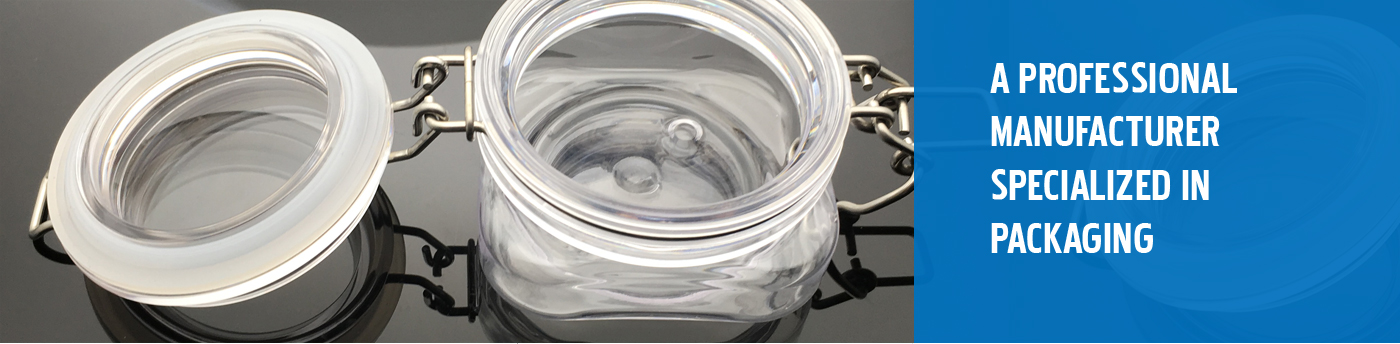
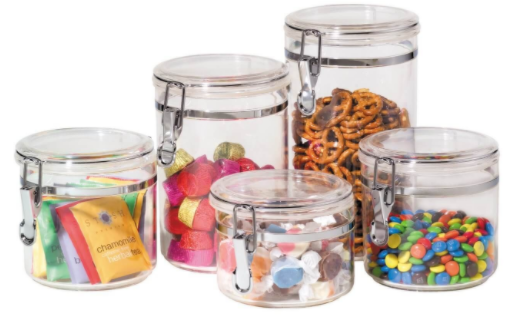
- Jam jars like a Clip top plastic jar
- Saucepan
- Sterilizing
- Chopping board
- Ladle
- Funnel
- Non-metallic spatula
For the strawberry jam:
- fresh washed and hulled strawberries
- Caster sugar
- Lemon juice
Sterilize your jars
Sterilizing your jars is an essential part of the preservative process. It can remove all bacteria, fungi, and organisms from the plastic pot so that when you use it for preserving, the food can remain fresh within the vacuum.
You can use two methods for sterilizing clip-top jam jars, bottles, preserve jars, clip lids, and seals, and it’s up to you which method you select, but experts recommend the water bath method as the most appropriate.
Make your easy jam recipe.
You are choosing a strawberry jam recipe, but you can select any you like. You can use your jam making equipment; here’s your easy strawberry jam recipe:
You will need:
- fresh strawberries – washed and hulled
- caster sugar
- lemon juice
Method:
You start by adding the strawberries to your saucepan and crush with potato masher jar filling. You add the sugar and lemon juice. Then, stir over low heat till the sugar has dissolved. You can bring the jam to boil and endure to stir. Please leave it to slightly cool.
Fill your jars
Then, you remove your jars from the vessel, keeping them warm water. Suppose they cover any water tip it away carefully. You place the empty Clip top plastic jar onto a heat-proof surface such as a chopping board and place a funnel. If using, into your first jar, using a ladle, transfer your recipe from the saucepan to your jars, ensuring to fill them to the point. Once each jar is complete, use a non-metallic spatula to remove air bubbles by running it around the inside of the plastic jar between the food and the jar. Finally, you can wipe the rim and threads of the jar to remove all food debris.
Seal your jars
You can place the rubber seals onto the top and close the clips of jars. You can put it in a large pan and cover the whole jar with water; boil for 30 minutes. When boiled, leave the water and clip jars to cool completely before eliminating. The process of boiling the clip jars in the water adds extra heat to the contents, allowing a checking seal to form.
Check that the airtight seal has formed.
After the 24 hour cooling period, you can check your jam jars to ensure an airtight seal has formed. To check the airtight seal of a screw band jar, undo the screw-band and lift the jar by the lid only. If an airtight seal has formed, the cover will not move, fasten the clip, and store. If the clip lid moves, an airtight seal has not been included, and you can reprocess your jars or eat the fillings immediately.